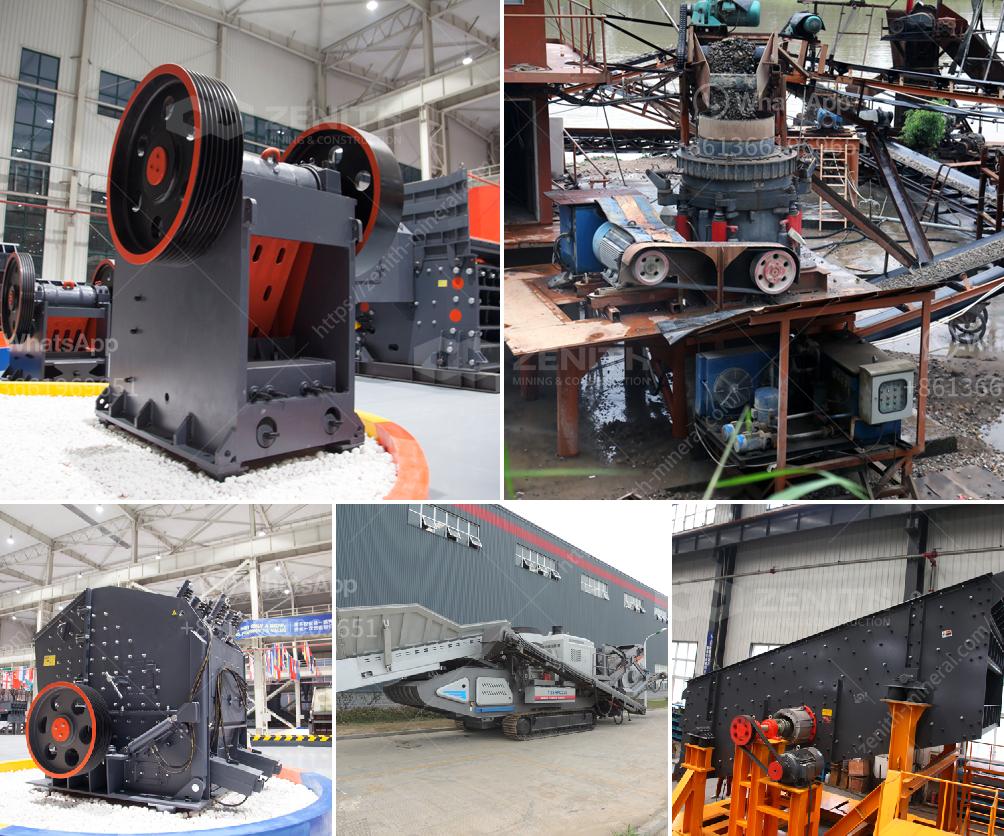
Fitting water pipes on a vibrating screen in a sand washing plant involves several steps to ensure proper installation and functionality. Here’s a general guide:
-
Plan the Layout:
- Determine the optimal positioning of the water pipes to ensure even distribution of water across the screen.
- Ensure the pipes cover the entire width of the screen for uniform washing.
-
Gather Materials and Tools:
- Water pipes suitable for the plant’s water pressure and usage conditions.
- Hose clamps, brackets, and fittings.
- Wrenches, screwdrivers, and other necessary tools.
-
Prepare the Screen:
- Make sure the vibrating screen is turned off and secured.
- Clean the screen surface to ensure no debris interferes with the installation.
-
Install Mounting Brackets:
- Use brackets to secure the water distribution pipes to the vibrating screen frame.
- Place brackets at intervals that provide adequate support and prevent sagging of the pipes.
-
Fit the Water Pipes:
- Attach the pipes to the brackets, ensuring they are properly aligned and securely fastened.
- If using flexible hoses, secure them with hose clamps to prevent movement due to vibration.
-
Connect Water Supply:
- Connect the water pipes to the main water supply system.
- Use proper fittings to prevent leakage and ensure a tight connection.
-
Test the System:
- Turn on the water supply to check for leaks or inadequate flow.
- Make any necessary adjustments to the bracket positioning or pipe fittings.
-
Optimize Flow:
- Ensure the water flow is evenly distributed over the screen.
- Adjust the flow rate as needed to achieve the desired washing effect.
-
Regular Maintenance:
- Periodically check the installation for any signs of wear or loosening of fittings due to vibration.
- Perform regular maintenance to keep the system functioning efficiently.
Remember to follow any specific guidelines provided by the manufacturer of the vibrating screen and water pipes, and always prioritize safety during installation.

