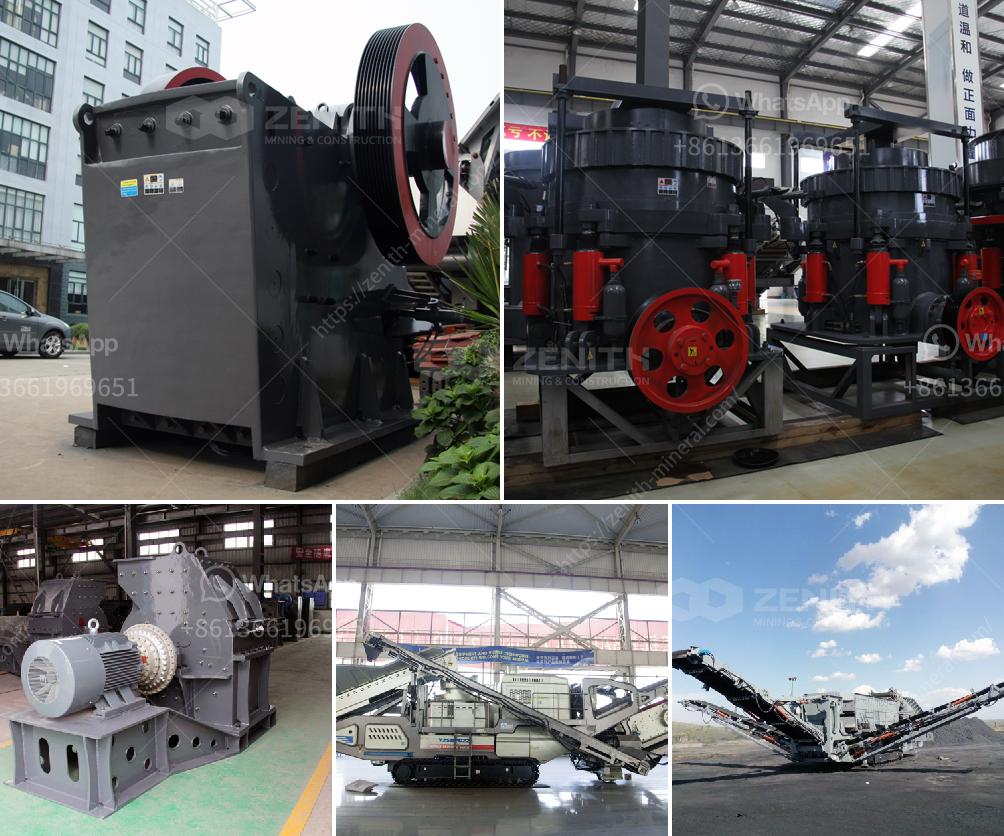
Disassembling the jaw plate of a jaw crusher involves several steps and should be performed with caution to avoid injury or damage. Here’s a general guide:
-
Safety First:
- Wear appropriate personal protective equipment (PPE) such as gloves, goggles, and hard hats.
- Ensure the crusher is powered off and disconnected from any power source.
- Follow lockout-tagout (LOTO) procedures to ensure the machine cannot be energized accidentally.
-
Preparation:
- Clear the workspace around the crusher.
- Assemble necessary tools, which may include wrenches, screwdrivers, lifting equipment, and other specific tools for your crusher model.
-
Remove Jaw Crusher Components:
- Release Tension: Loosen the tension rod and spring assemblies to release the tension on the toggle plate.
- Remove Toggles: Disconnect or remove the toggle plates.
- Detach Side Liners: Depending on your crusher model, you might need to remove side liners or other components that can block access to the jaw plate.
-
Disassemble Jaw Plates:
- Front End Frame: Using a crane or other lifting device, carefully remove the jaw plate from the front end frame.
- Jaw Plate Bolts: Undo the bolts or wedge bolts that secure the jaw plate to the jaw stock.
- Lift Out Jaw Plate: Carefully lift out the jaw plate. This can be a heavy part, so use lifting equipment as needed.
-
Inspection and Maintenance:
- Examine the jaw plate for wear and tear. Determine if it needs replacement or can be resurfaced or realigned.
- Inspect the underlying components and structure for cracks, damage, or wear.
-
Installation of New or Reassembled Jaw Plates:
- Position New Jaw Plate: Carefully place the new or resurfaced jaw plate into the crusher.
- Secure the Bolts: Tighten the bolts to secure the jaw plate. Ensure proper torque according to the manufacturer’s specifications.
- Reassemble the Crusher: Reinstall any other components you removed, such as side liners and toggle plates.
- Reapply Tension: Reapply tension to the tension rod and spring assembly as required.
-
Final Checks:
- Inspect the assembly for proper alignment and secure fit.
- Reconnect the power source and remove the lockout-tagout (LOTO) device.
-
Test Run:
- Start the crusher and observe its operation. Listen for unusual noises and check for vibrations.
If in doubt, always consult the operator’s manual specific to your crusher model or contact the manufacturer for guidance.

