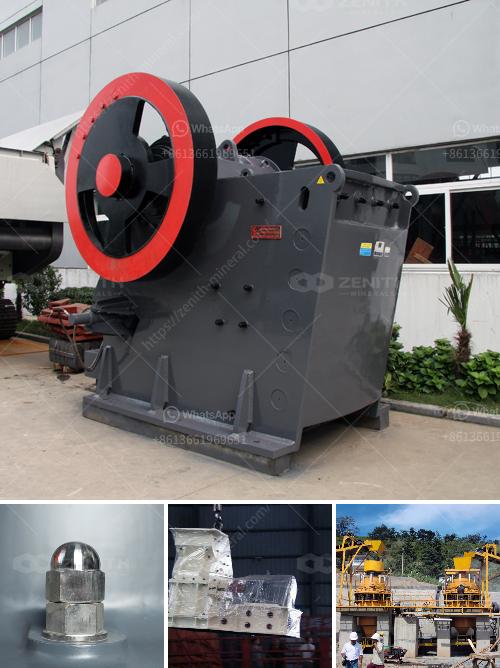
Disassembling a cone crusher is a complex task that should ideally be performed by trained professionals due to the heavy machinery and potential hazards involved. If you're qualified or need a general guide, here's a simplified step-by-step overview. Always refer to the manufacturer’s manual for exact instructions and safety guidelines.
Tools and Equipment Needed:
- Hex wrenches and general hand tools
- Hydraulic jacks or cranes
- Lubricants and coolant
- Safety gear (gloves, eyewear, etc.)
Steps to Disassemble a Cone Crusher:
-
Preparation:
- Ensure the machine is completely shut down and locked out/tagged out. Disconnect all power sources.
- Remove any material from the crusher and clean the surrounding area.
-
Remove the Drive Assembly:
- Unlock and detach the drive motor from the cone crusher.
- Remove the V-belt or other drive connecting components.
-
Disengage the Adjustment Ring:
- Use a hydraulic jack to ease the tension on the adjustment ring.
- Carefully disengage and lift the adjustment ring out of its seating.
-
Detach the Bowl Liner:
- Remove the securing bolts from the bowl liner members.
- Lift out the bowl liner with a crane.
-
Main Shaft and Eccentric Assembly:
- Release and remove the clamping components securing the main shaft.
- Carefully lift out the main shaft assembly along with the eccentric structure.
- Disassemble the main shaft from the eccentric bushing as required.
-
Remove Wear Parts:
- Dismantle the inner cone (mantle) from the shaft by unbolting or using supplementary lifting gear.
- Carefully remove the wear plates and liners from the main frame.
-
Disassemble the Frame:
- Detach the top frame (also called the upper frame) from the bottom frame using appropriate lifting methods.
- Unbolt and separate other frame components as necessary.
Safety Precautions:
- Always use appropriate lifting equipment - Cone crusher parts can be extremely heavy and require careful handling to avoid injury or machine damage.
- Work in pairs or a team - Disassembling heavy machinery should not be done alone.
- Follow lockout/tagout procedures - Ensure that all power sources are disconnected before starting the disassembly.
- Wear Personal Protective Equipment (PPE) - Including gloves, safety glasses, and steel-toed boots.
Post-Disassembly:
- Inspect parts for wear and tear or any signs of damage.
- Clean all components thoroughly before any further action, such as repairs or storage.
- Document the condition and any findings for maintenance records.
Remember, these steps are an overarching guide and specific models will have unique features that must be addressed according to the manufacturer’s manual. If unsure, it is advisable to consult or hire professionals to ensure safety and efficiency in the disassembly process.

